Image: Jacob Ammentorp Lund/iStock
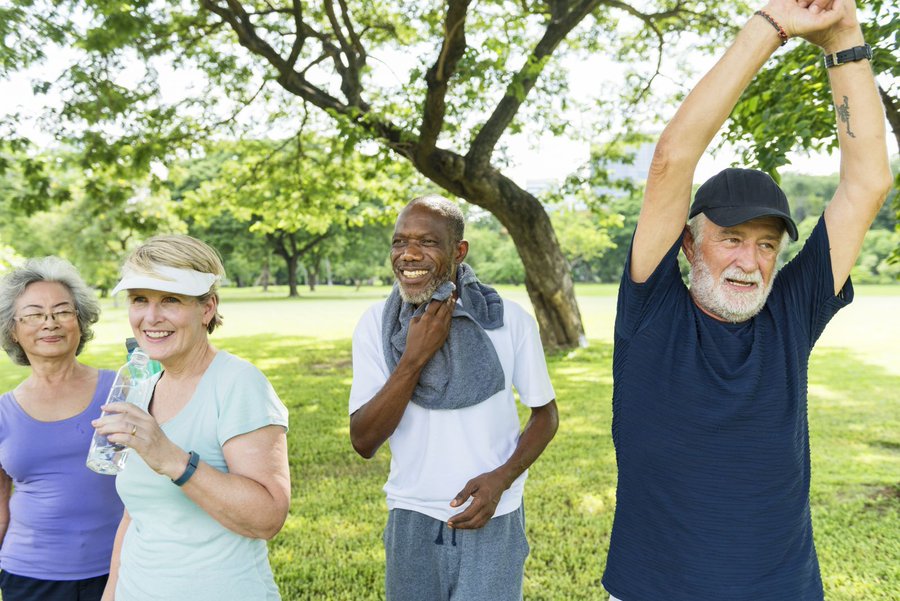
Many older adults focus on exercise and diet to stay healthy. But one of the worst offenders to health—poor balance—is often an afterthought. “I see a lot of older adults who are nonchalant about balance,” says Liz Moritz, a physical therapist at Harvard-affiliated Brigham and Women’s Hospital.
Unfortunately, imbalance is a common cause of falls, which send millions of people in the United States to emergency departments each year with broken hips and head injuries. But there are many things you can do to improve your balance. The strategies below are some of the most effective.
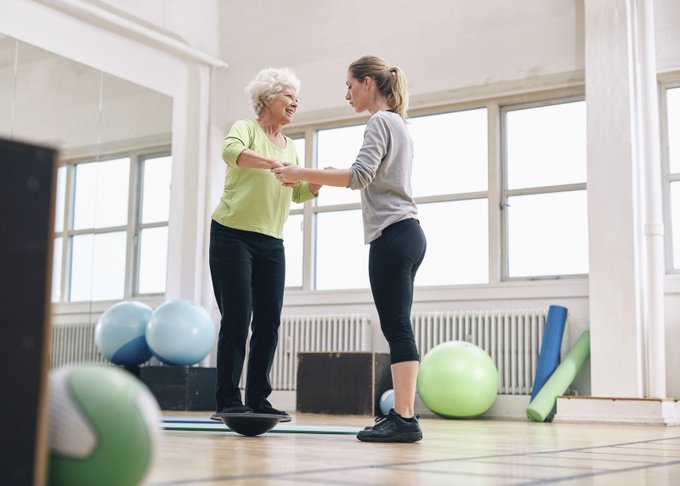
Physical therapy
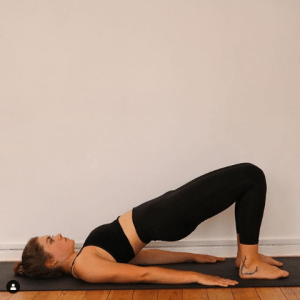
Physical therapy for balance focuses on the ability of the joints and brain to communicate, the balance system in the ear (the vestibular system), and vision. “We coordinate all three with exercises such as standing on one foot, first with the eyes open, and then with the eyes closed. We also work on joint flexibility, walking, and lower-extremity exercises on one or two legs,” says Moritz. Other exercises that boost balance include chair stands (see “Move of the month”) and squats. Make sure you get training before attempting these exercises at home.
Muscle strengthening
“Core strength is very important for balance. If the abdominal muscles in your core are weak, they cannot support your limbs, especially when you’re walking. If the gluteal muscles in your buttocks and hips aren’t strong, they won’t be able to propel you forward,” says Moritz. Muscle strengthening can help. Moritz suggests starting with gentle core exercises like a pelvic tilt (lie on the floor with your knees bent up, then roll your pelvis up) and then moving to more intense exercises such as wall planks (stand six inches from a wall, keeping your body rigid, then lean forward with your forearms flat against the wall, and hold the position for 20 seconds). Leg lifts will strengthen the gluteal muscles, and adding resistance bands to leg lifts makes the exercise even more effective.
Tai chi and yoga
“Tai chi and yoga are exercises that make you pay attention to the control and quality of movement, rather than the quantity, which improves your balance,” says Moritz. In tai chi, you practice slow, flowing motions and shift your weight from one limb to another. Yoga incorporates a series of focused postures and breathing. Both exercises increase flexibility, range of motion, leg and core strength, and reflexes. The result: you become better at balancing in a number of different positions, which helps you avoid falling if you encounter uneven pavement or obstacles in your path.
Vision correction
“If you can’t see where you’re going, your fall risk goes up,” says Moritz. “A lot of people I treat for balance are here be-cause they tripped when they didn’t see something on the floor.” The fix may be as simple as a new eyeglasses prescription. Get a comprehensive, dilated eye exam every one or two years if you’re 65 or older, every one to three years if you’re age 55 to 64, and every two to four years if you’re 40 to 54. If you have an increased risk for other eye conditions, you may need an eye exam more often.
Assistive walking devices
A cane or a walker can complement your balance and give you more stability and confidence walking. But don’t buy a device on your own. “If it’s too high or too low, that can cause a fall. You need to get it measured, and you need training to learn how to use it,” says Moritz. Training takes just a few physical therapy sessions. Walkers are available with wheels intended for different terrain, lockable brakes, seats, baskets, and other features such as headlights. Canes are available with various handgrips and bases.
https://www.health.harvard.edu/staying-healthy/our-best-balance-boosters?utm_content=bufferbc3b8&utm_medium=social&utm_source=facebook&utm_campaign=buffer


 motherandbaby
 ahappyhome__So hard to choose! I want them all! Maybe a week without making decisions 🙌