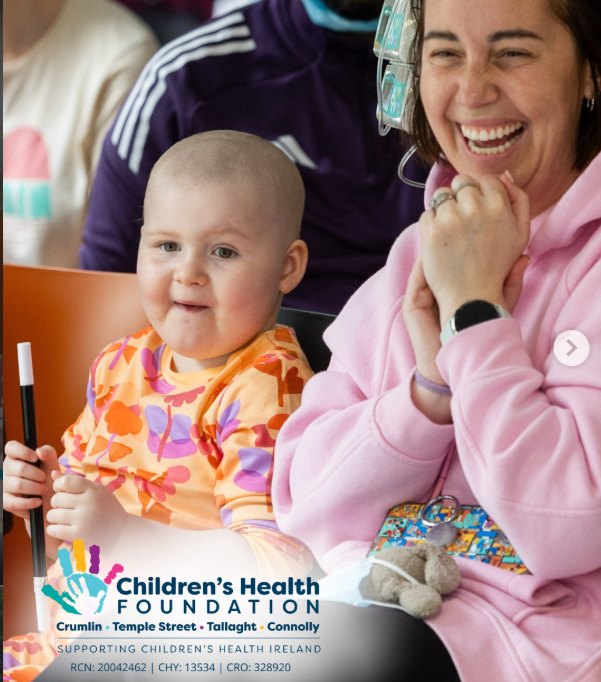
Smiles, laughter and moments of normality, that’s what International Day of Play in Hospital was all about.
Yesterday was a special day where children, families and Play Specialists came together to celebrate the important role play has in supporting children throughout their hospital journey.
Thank you to everyone who helped make the day such a success, and to our supporters and community who make this work possible.
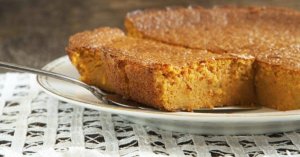
Try our lighter carrot cake, which the entire family will love. It has just the right texture, like a slightly sweetened, light corn bread. It’s great on its own or with a dollop of frozen whipped topping or nonfat ice cream.
Ingredients
No-stick baking spray with flour
1 cup unbleached all-purpose flour
½ cup whole wheat flour
½ cup granulated sugar substitute
¼ cup packed light brown sugar
¼ cup nonfat dry milk
1 ¼ teaspoons baking soda
1 ½ teaspoons baking powder
1 teaspoon ground cinnamon
¼ teaspoon ground cloves
½ teaspoon ground nutmeg
½ teaspoon ground allspice
¼ cup canola oil
1 large egg
¾ cup egg substitute
1 ½ cups finely grated carrots
2 tablespoons finely chopped walnuts
2 tablespoons golden raisins
One 6-ounce can unsweetened crushed pineapple, drained
2 tablespoons confectioners’ sugar, optional
Directions
Preheat the oven to 350ºF. Coat a 10-inch pan with baking spray.
Sift the white and whole wheat flours into a large bowl. Add the sugar substitute, brown sugar, dry milk, baking soda, baking powder and spices. Stir to mix well. Using the medium setting of an electric mixer, beat in the oil, egg and egg substitute until the batter is smooth. Fold in the carrots, walnuts, raisins and pineapple.
Spread the batter into the prepared pan and bake for 30 minutes, until a toothpick inserted in the center of the cake comes out clean. Cool in the pan. Remove the outer ring of the pan and sift confectioners’ sugar over the top, if desired. Serve at room temperature.
Dietitian’s Note: Never has carrot cake tasted so good, and been so guiltless! When compared to traditional carrot cake with icing, you save 180 calories, 12 grams of fat, and 4 grams of saturated fat.
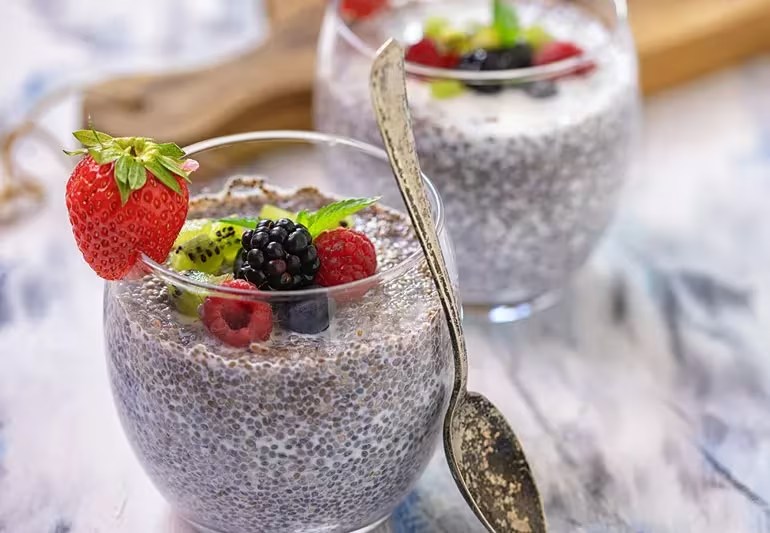
A nice departure from smoothies and eggs, this pudding is almost like eating dessert. Make it ahead of time for a quick, delicious breakfast. Chia seeds add protein, fiber, healthy omega-3 fats and important minerals.
Ingredients
1 ½ cups full-fat coconut milk 1 ½ cups unsweetened almond milk ¾ cup chia seeds 2 teaspoons pure vanilla extract 2 teaspoons ground cinnamon 2 cups fresh berries ¼ cup finely chopped walnuts, for garnish Optional: ¾ teaspoon grated nutmeg
Directions
Place all the ingredients, except the fresh berries, walnuts and nutmeg into a large mixing bowl and stir until everything is incorporated. Pour the mixture into four 10-ounce serving bowls or ramekins. Cover and refrigerate overnight to allow the pudding to set and become creamy.
To serve, top each bowl with ½ cup of the berries and garnish with 1 tablespoon of the chopped walnuts and the nutmeg.
Nutritional information (per serving)
Makes 4 servings.
Calories 430 Fat 31 g Saturated Fat 12 g Cholesterol 0 mg Fiber 15 g Protein 9 g Carbohydrate 28 g Sodium 95 mg
— Recipe courtesy of Functional Medicine Physician, Mark Hyman, MD
How Long To Breastfeed: What the Guidelines Say and What To Consider
Recommendations encourage breast milk exclusively for baby’s first six months and continuing to provide human milk until age 2 and beyond
How and what you feed your baby is probably one of the most basic — and yet deeply personal — decisions you’ll face when you become a parent.
You’ll hear things like “breast is best.” As in, breastfeeding (chestfeeding) is the absolute best way to nourish your baby.
And then you’ll hear the retort, “fed is best.” Meaning breast milk (human milk) and formula are both fine. As long as your baby is getting nutrients in their belly, all is well.
Then come the opinions on how long you should breastfeed. (You’re still breastfeeding? You gave up on nursing already? You fed your baby formula?)
It can feel like there’s no right way to do it. And there’s some truth to that.
Because what works for one family may not be feasible for another. But that’s OK.
Breast milk can provide certain benefits that formula can’t mimic. But breastfeeding, especially for long periods of time, might not work for everyone. Or you may have been given the impression that you’ve continued providing human milk long after others think you “should.”
No one should feel guilt, shame or otherwise crummy about how they feed their baby. Let’s face it, mom guilt is tough enough as it is.
So, we talked with board-certified breastfeeding medicine physician Heidi Szugye, DO, about breastfeeding recommendations.
How long to breastfeed
Science shows that if you can give your baby human milk (either your own or a donor’s), it has its benefits. And the longer, the better, experts recommend.
12 months to 24 months (and beyond): Mostly solid foods with some human milk, as mutually desired by parent and child.
Previous recommendations called for providing breast milk until age 1. But these newer guidelines (implemented in 2022) are based on the understanding that human milk has benefits that continue long after baby’s first birthday. And they help to remove stigmas associated with people who choose to extend breastfeeding into toddlerhood.
“These recommendations are a call to action for everyone, and that includes hospitals, pediatricians and all physicians that are taking care of families,” Dr. Szugye states. “We want to make sure our practices and policies are set up to support people who choose to breastfeed beyond the first year of their child’s life.”
Think of the guidelines as the best-case scenario. If it works for you, your family, your child, your body and your life to breastfeed for two years or longer, you’re doing a great thing. And there’s no reason to stop until you and your child are ready.
If it doesn’t work for you, that’s OK, too. Your worth as a parent and your love for your child can’t be measured in ounces of milk.
Benefits of extended breastfeeding
The recommendations are based on research showing that human milk has some big benefits. And those perks continue for as long as you continue to supply it.
“Breastfeeding offers tremendous benefits — from custom-made nutrition and increased immunity to protecting you against some forms of cancer. And those benefits don’t go away as your baby ages,” Dr. Szugye shares. “We have more and more data supporting that there are benefits to breastfeeding for more than one year when possible.”
Breastfeeding can offer both you and your baby some big benefits:
Benefits for lactating parents
Benefits for baby
Lower risk of developing conditions like Type 2 diabetes, high blood pressure, cardiovascular disease, breast cancer and ovarian cancer.
Decreased risk for ear infections, respiratory infections, gastrointestinal illnesses, SIDS, leukemia, diabetes, obesity, asthma and eczema.
“There are a lot of immunologic factors and components to human milk,” Dr. Szugye says. “One big advantage to human milk is that you pass antibodies to the baby. So, if you’re exposed to a respiratory illness or GI illness, those antibodies are passed on to the baby and then that makes them less likely to get sick. And if they do get sick, it’s less severe. It’s almost like a built-in immunity.”
Keeping up milk supply for the long haul
Some people can make enough milk to breastfeed for as long as they and their babies choose. But some don’t. At least not without taking some steps to keep it up.
If you suspect your supply is dwindling as your child gets older, there are ways to help promote more milk production if you want.
“Many people notice their supply drop and mistakenly assume it won’t return,” Dr. Szugye notes. “But if you want to continue to breastfeed, there are options that could help.”
If a supply boost is in order, you can try:
Nursing more often — Add sessions as long as your child will nurse. If you’re away from them during the day, try early evenings, mornings or weekends.
Pumping strategies — An extra session or several short “power pumping” sessions (think five to 10 minutes throughout the day) for several days in a row can trigger your body to make more milk.
Breast massage and compression — Easy-to-learn techniques can improve drainage when nursing or pumping.
Take care of yourself — Reduce stress, rest when possible, hydrate and eat a balanced diet with an extra 500 calories a day to support breastfeeding.
Not an ‘all-or-nothing’
If two or more years of breastfeeding seems daunting, remember that you have options.
For starters, giving your child human milk doesn’t always mean latching them to your breast and nursing. That’s just one way to do it. Pumping milk and putting it in a bottle, cup or spoon are also options.
And you may find that a donor bank could be a route to explore if you don’t lactate or if you have concerns about a low milk supply. Donor milk is pasteurized, screened for drugs, medications and infections, and tested for bacterial contamination before it’s stored and made available for purchase.
“Reach out to your pediatrician or women’s healthcare provider if you’re interested in obtaining donor milk. You may need a prescription from a healthcare provider,” Dr. Szugye suggests.
Remember, too, that any amount of human milk can be a benefit. If keeping up with your baby’s breastfeeding demands becomes too high a burden, there are alternatives.
Some parents may find that supplementing with formula (or other foods and milk after baby turns 1) can help give your child some human milk, while keeping up with their nutritional needs — and not burning yourself out in the process.
“It’s not an all-or-nothing thing,” Dr. Szugye reassures. “Any amount of human milk you can give is a benefit. If it doesn’t work for you to constantly supply human milk, that’s OK. We’re all just doing our best.”
If breastfeeding is going well for both you and your child, there’s no reason to give it up until you’re both ready to.
Feeding a baby is tough work, no matter how you do it. And chances are, you’re doing a fantastic job.
Almost 43,500 people in Ireland get cancer each year. That’s a hard fact. It’s helpful to know that 4 out of 10 cancers could be prevented and that more people survive cancer than ever before. Let’s spread the word on #WorldCancerDay with