Want to tone your midsection? You can start by standing up to do ab exercises.
Surprised? That’s understandable. After all, most of us think of a few classic on-the-floor exercises when it comes to strengthening our abdominals. Crunches and sit-ups, for instance. Planks, too.
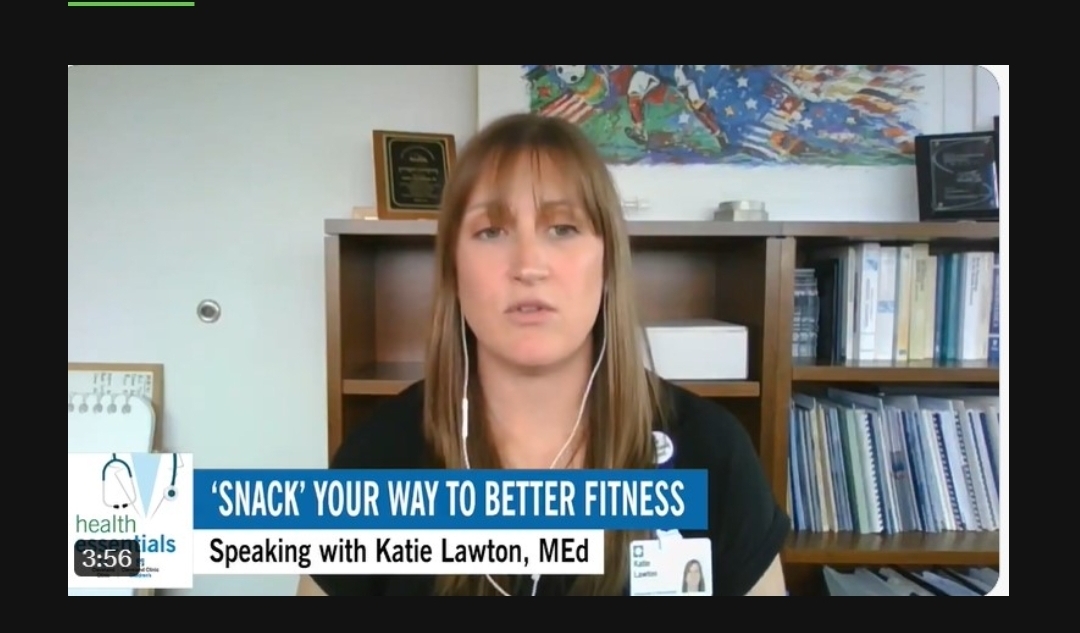
But it turns out, you can get a deeper and more thorough core workout while on your feet, says exercise physiologist Katie Lawton, MEd. Here’s how.
Standing ab exercises
The pursuit of “six-pack abs” explains the devotion to crunches and similar floor exercises. “You completely isolate the rectus abdominis muscles when you lie down and do that motion,” says Lawton. “It’s very targeted.”
That’s great for creating washboard abs. But it doesn’t do much to enhance other muscles in your middle that play an important role in day-to-day movements.
Standing ab exercises, on the other hand, engage a network of muscles within your core that you use all the time, whether it’s picking laundry up off the floor or putting cans on the top shelf in the pantry.
“Think of your core as a chain of muscles that needs to work together to get the job done,” illustrates Lawton. “When you do an ab workout from a standing position, you’re working more of the muscles in that system.”
Strengthening your core can help you:
- Improve your balance
- Maintain good posture
- Protect your back from aches and pains
- Better handle day-to-day movements that require bending, lifting and twisting
Incorporate these exercises in a standing abs workout to see those benefits.
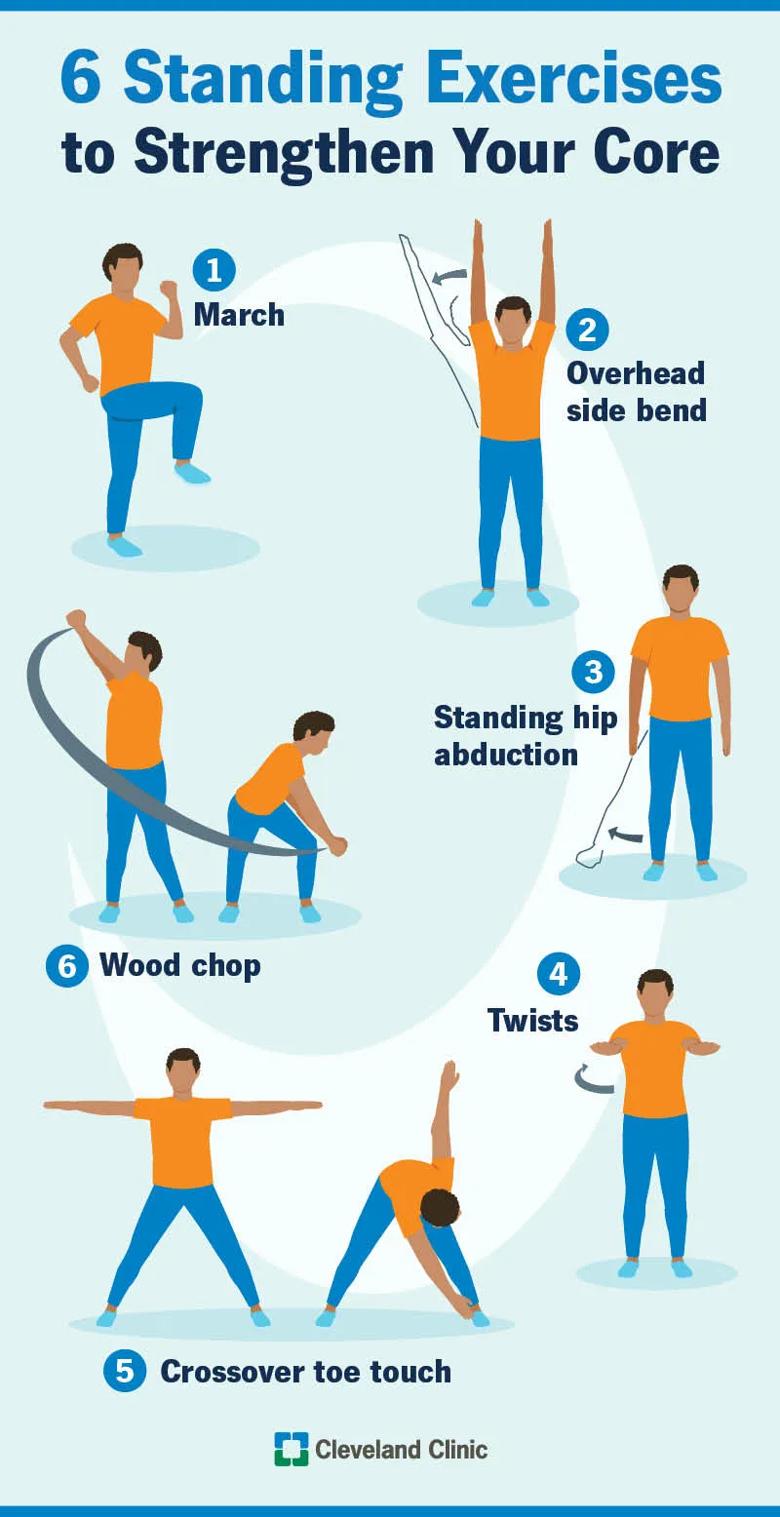
1. March
Muscles targeted: Rectus abdominis, transverse abdominis, erector spinae and hip flexors
- Start in a standing position with your feet about hip-width apart.
- In an exaggerated marching motion, bring your right knee straight up and move it toward your chest until your thigh is parallel to the floor.
- Return to a standing position and repeat the motion with your left leg for one set.
- Continue for 10 to 15 sets.
Pro tip: Want to make the march more challenging? Then add a “twist” to your motion by moving your right knee toward your left side when you raise it. (Your left knee would go toward your right side.)
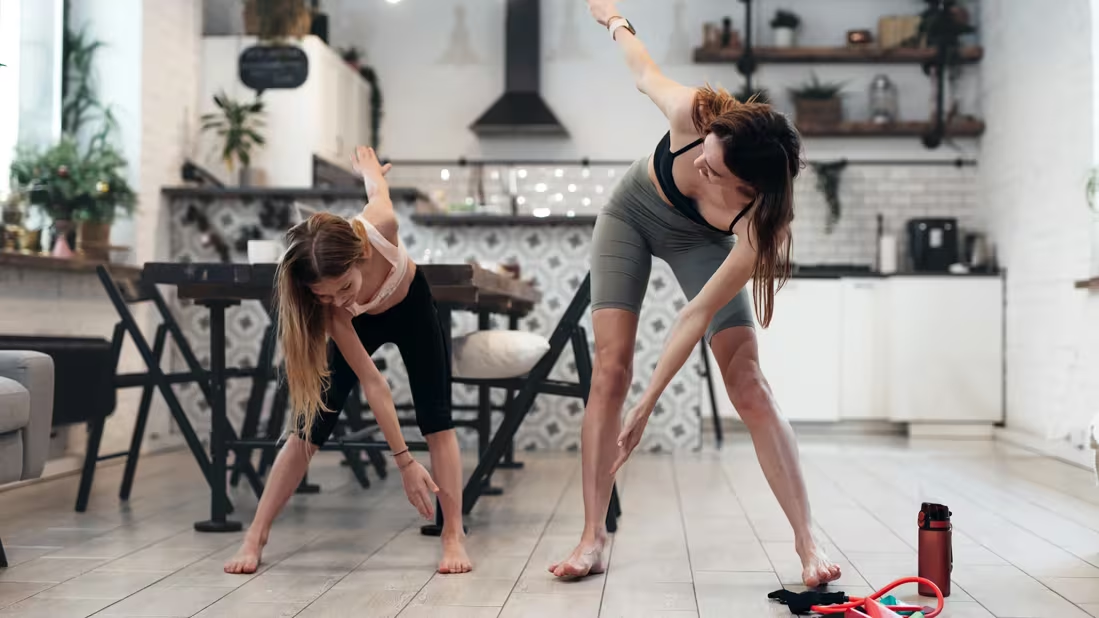
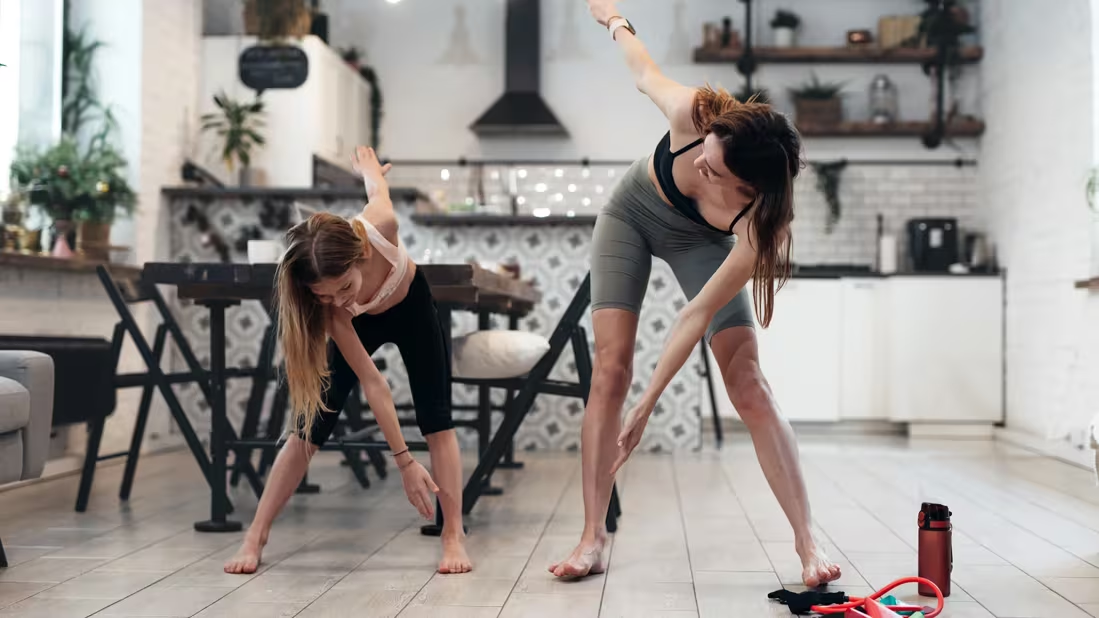
2. Overhead side bend
Muscles targeted: External and internal obliques, quadratus lumborum, deltoids and erector spinae
- Stand tall with your feet hip-width apart.
- Extend your arms up, palms facing each other (as if you’re signaling a touchdown).
- Tilt to the right while keeping your torso and arms straight. You’ll feel a stretch on the left side of your body as your waist bends to the right.
- Return to the center position and repeat the motion to the left for one set.
- Continue for 10 to 15 sets.
Pro tip: “As you bend to each side, focus on engaging your core muscles to work them properly,” advises Lawton. “You’re just going to the side, too. Your torso shouldn’t lean forward at all.”
3. Standing hip abduction
Muscles targeted: Rectus abdominis, transverse abdominis, erector spinae, glutes and hamstrings
- Begin in an upright position with your feet about hip-width apart.
- Kick your right leg out to the side, keeping it straight. Your toes should point forward during the motion as your leg scissors out and back. “Keep the movement smooth and consistent both ways,” instructs Lawton.
- Repeat 10 to 15 times and then do the same with your left leg.
Pro tip: Use a chair to steady yourself if balance is an issue. “You always want to make sure these exercises are done in the safest way possible,” emphasizes Lawton.
4. Twists
Muscles targeted: Internal and external obliques, rectus abdominis, transverse abdominis and erector spinae
- Stand and plant your feet about shoulder-width apart.
- Extend your arms straight out in front of you, parallel to the floor.
- Rotate your upper body to the right from your midsection while trying to keep your hips facing forward.
- Return to the center. Then, rotate to the left to complete one set.
- Repeat 10 times.
Pro tip: Twists should be done in a slow and controlled manner. “You don’t want to be whipping back and forth,” cautions Lawton.
5. Crossover toe touch
Muscles targeted: Internal and external obliques, rectus abdominis, transverse abdominis, erector spinae, hamstrings and glutes
- Begin in a standing position with your feet slightly wider than shoulder-width apart.
- Extend your arms out to your side, as if forming the letter T.
- Rotate your torso to the right while reaching your left hand down to tap your right foot. Most of the movement should be in your core, not your legs.
- Return to the T position and repeat the motion in the opposite direction (with your right hand touching your left foot) to complete a full set.
- Repeat 10 to 15 times.
Pro tip: Skip this exercise if you sometimes get lightheaded when raising your head and up and down.
6. Wood chop
Muscles targeted: Internal and external obliques, rectus abdominis, transverse abdominis, erector spinae, deltoids and latissimus dorsi
- Stand with your feet positioned shoulder-width apart.
- Clasp your hands together (as if holding an ax) and bring them up over your head to the right. Your torso will rotate slightly to the right as you twist.
- Bring your hands down and to the left in a “chopping” motion that swings across your chest toward your left leg. Rotate your torso to the left as you take the swing. Bend your knees slightly and pivot your feet, too.
- Return to the raised position. Take 10 chops.
- Repeat with your hands, starting to the left and swinging to the right.
Pro tip: Tailor these exercises to your range of motion. “Move the best you can within the parameters you have,” advises Lawton. “When you start to feel that tension in your muscles, stop there. If it hurts, you’ve gone too far.”
Final thoughts
The simplicity of standing ab exercises just … well, stands out. That’s because the exercises build on natural movements that we do all the time. “That’s a big reason why they’re so effective,” says Lawton.
It’s important to safely progress these exercises as they become easier. Resistance bands, cable machines, medicine balls or free weights are all tools that can help you increase the intensity of the movements.
Dedicating a few minutes a day to these exercises can help you build core strength that supports everything you do, from walking the dog to lifting groceries.
“Standing ab exercises really don’t take a lot of time,” emphasizes Lawton.
Plus, you won’t need to find your floor mat to do them.
Learn more about our editorial process.